Elevate Your Kitchen Without the Designer Price Tag
Let’s be honest: your kitchen cabinets take a beating. Between the splattered spaghetti sauce, the steam from the dishwasher, and the constant opening and closing, they are the hardest-working surfaces in your home. If you've been looking at your outdated oak or dingy white cupboards and dreaming of a Pinterest-worthy makeover, I have good news: painting kitchen cabinets is one of the most rewarding DIY projects you can tackle.
But wait—before you grab a random can of wall paint and a cheap brush, let’s talk shop. This isn’t just about changing a color; it’s about choosing kitchen design and renovation strategies that actually last. If you do it wrong, your cabinets will be peeling by next Thanksgiving. If you do it right? You’ll have a professional, durable finish that makes your neighbors think you spent ten grand on a remodel. As a kitchen gear geek, I've seen it all, and today I'm sharing the "secret sauce" for the perfect cabinet transformation.
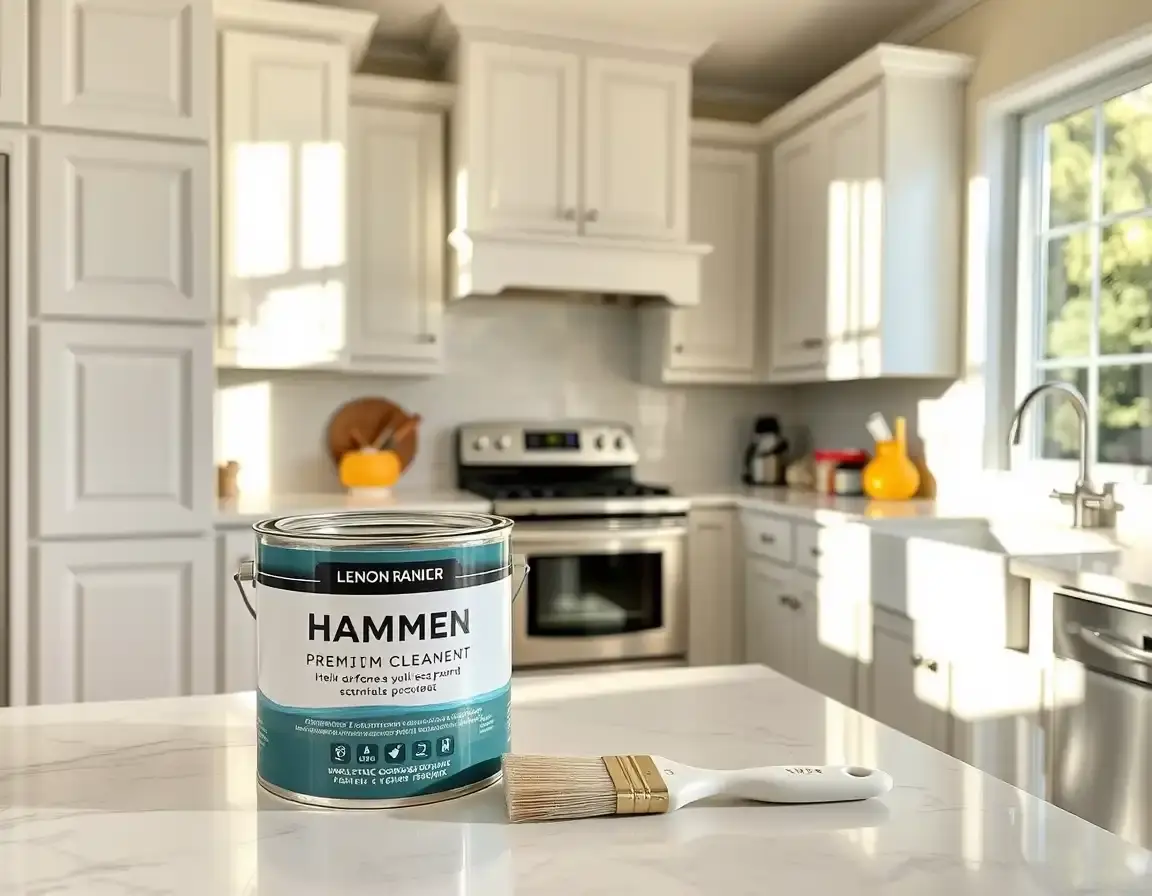
Phase 1: Choosing Your Weapon (The Paint)
The biggest mistake home cooks—err, home painters—make is using standard interior latex paint. Cabinets need something tougher. You need a paint that levels out (so you don't see brush marks) and cures to a hard, scrubbable shell. When looking for how to choose kitchen equipment and supplies, the finish is everything.

Latex Enamel Paint for Cabinets
If you want the durability of an oil-based paint but with the easy cleanup of water, this is your holy grail. Latex enamel provides a hard, "glass-like" finish that resists moisture and grease. It's the durable nonstick cookware equivalent of the paint world—nothing wants to stick to it once it's cured!
Check Price & Reviews"Pro tip: Always check the 'dry-to-recoat' time. Patience is the ingredient most people leave out of a great kitchen renovation!"
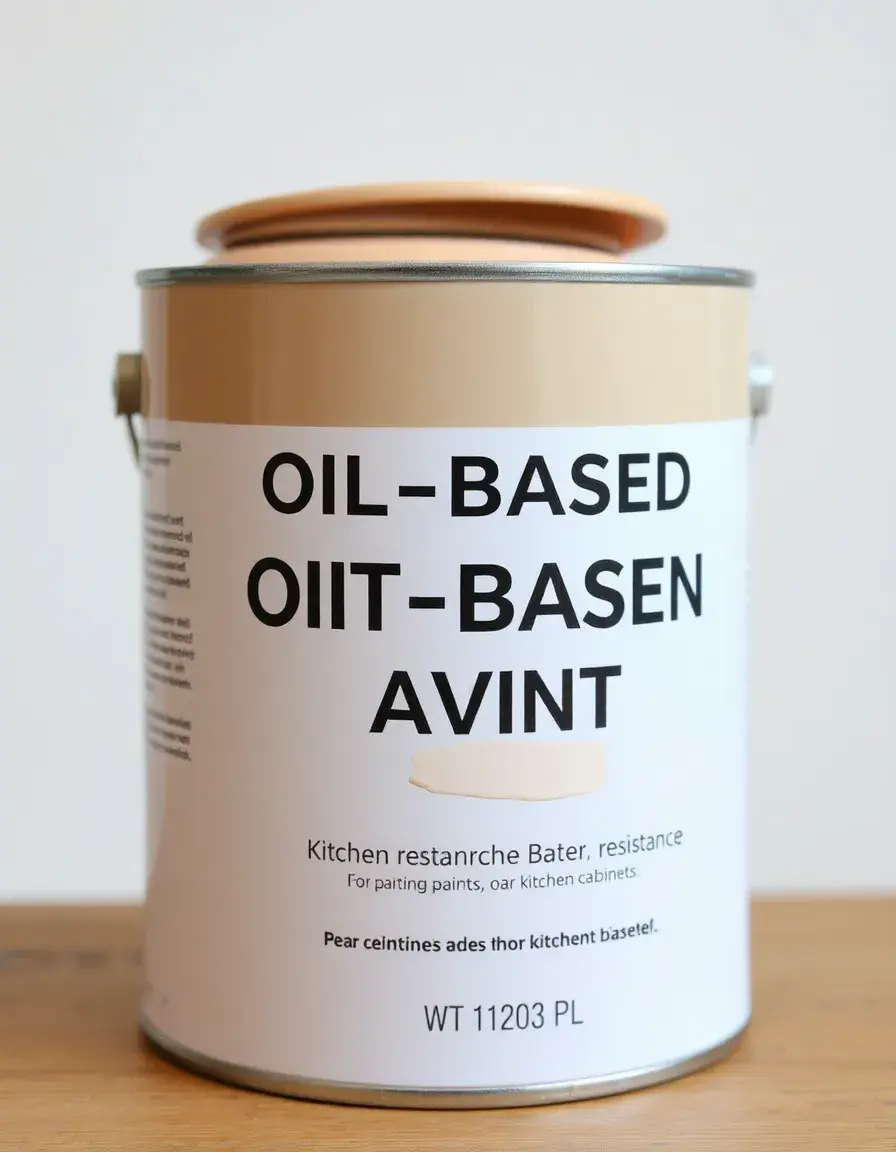
Oil-Based Cabinet Paint
For those who want a truly bulletproof finish, oil-based is the way to go. It levels beautifully, meaning those pesky brush strokes disappear as the paint dries. It’s significantly more scratch-resistant than water-based options, making it one of the must-have kitchen essentials for high-traffic family homes.
View SelectionPhase 2: Prep Like a Pro
Painting is 80% prep and 20% application. If you skip the cleaning and sanding, you’re just painting over grease, which is a recipe for disaster. You need to strip away years of cooking oils and "degloss" the existing finish so the new paint has something to grab onto.

Deglosser Liquid for Cabinet Prep
Sanding every nook and cranny of a raised-panel cabinet door is a nightmare. A high-quality liquid deglosser (often called "liquid sandpaper") chemically dulls the existing finish. It saves your elbows and ensures your best kitchen tools for home cooks—your brushes—can do their job properly.
See Prep SuppliesQuick Prep Checklist:
- Remove all hardware: Yes, every single screw. Don't try to paint around them!
- Label your doors: Use painter's tape to mark which door goes where (e.g., "Above Fridge").
- The Triple Clean: Use a heavy-duty degreaser. If the surface feels even slightly tacky, the paint won't bond.
- Fill the holes: If you're switching to new, modern handles, fill the old holes now.
"AliExpress is surprisingly fantastic for finding specialized prep tools and bulk supplies. You can often find the same quality deglossers and solvents used by pros at a fraction of the big-box store price."
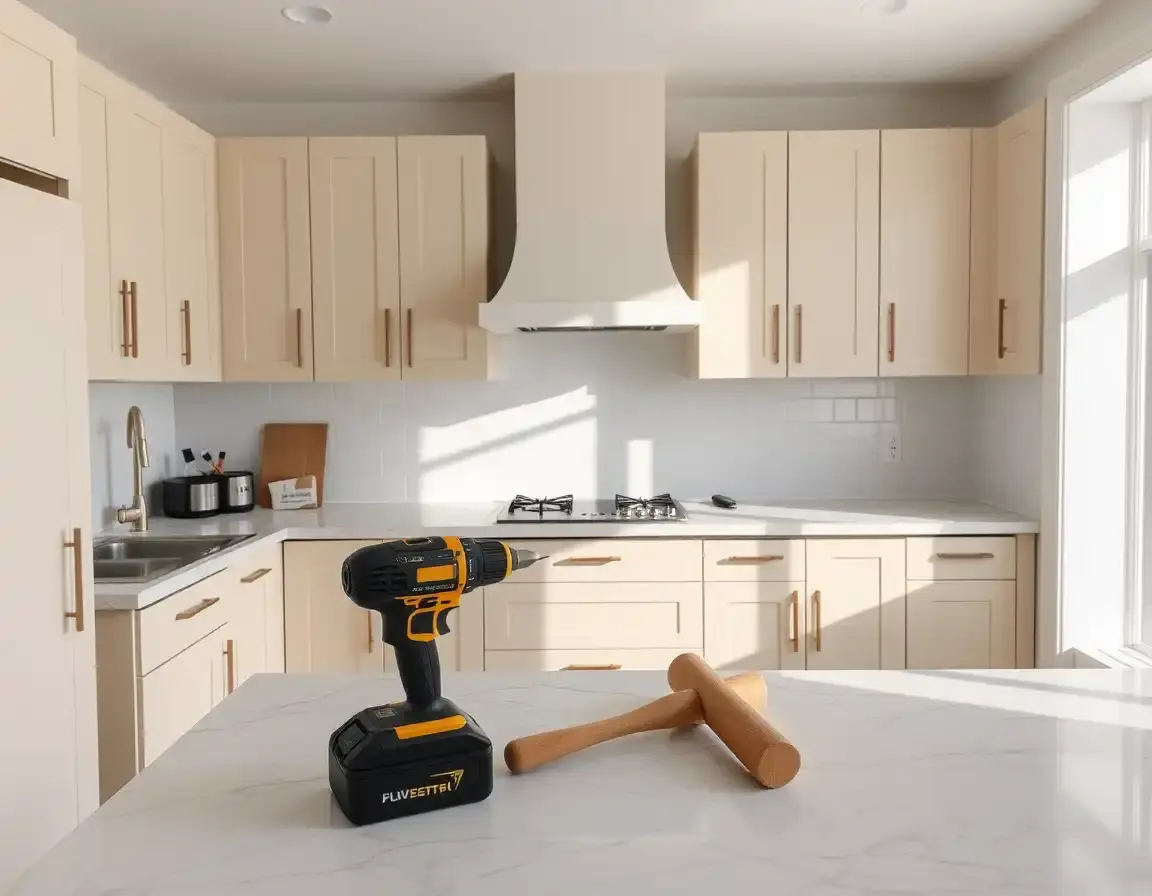
Phase 3: The Art of Application
How you put the paint on is just as important as what paint you use. You have three main paths: the brush, the roller, or the sprayer. Most DIYers use a combination of a brush for the details and a small foam roller for the flat panels.
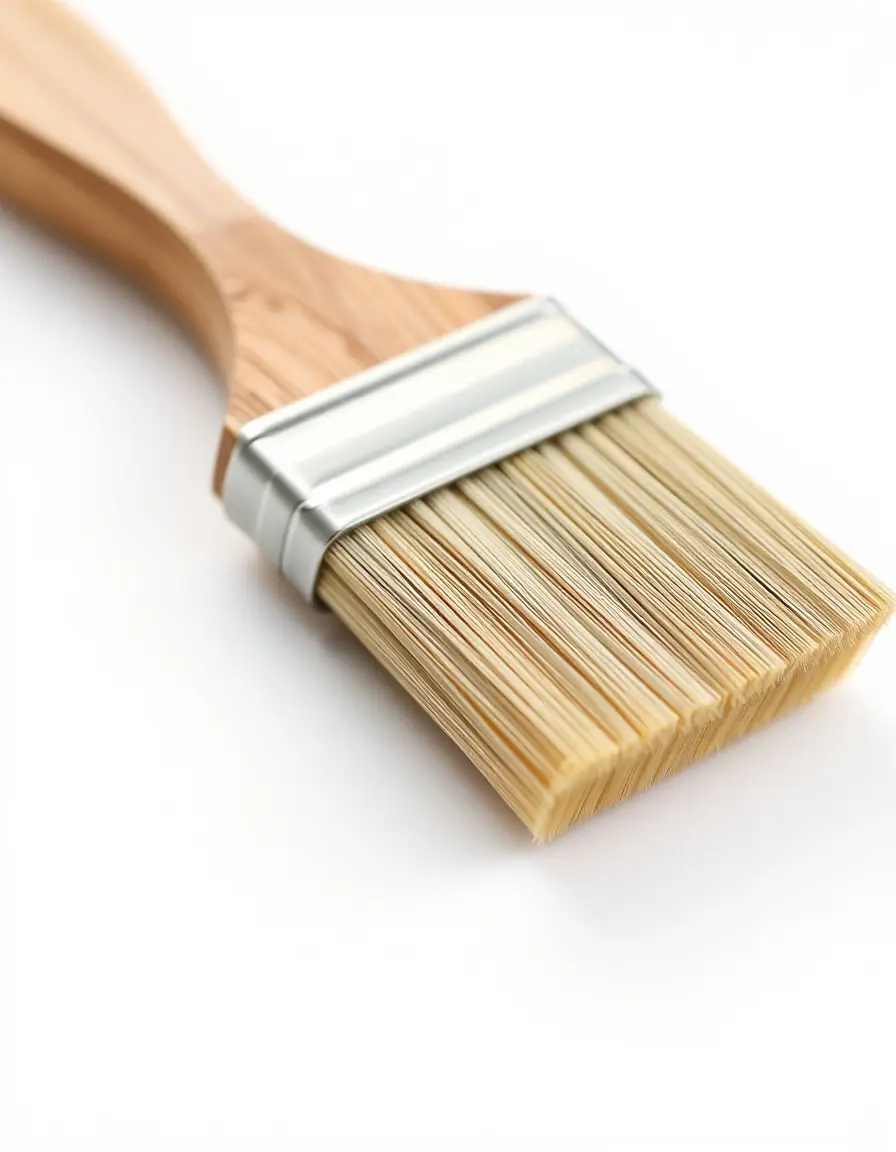
Angled Sash Paint Brush
Don't even think about using a flat brush. An angled sash brush is designed to get into the corners of cabinet frames and "cut in" along the edges. Look for synthetic bristles if using latex, or natural bristles for oil. A good brush is like a sharp chef's knife—it gives you total control.
Find the Right Brush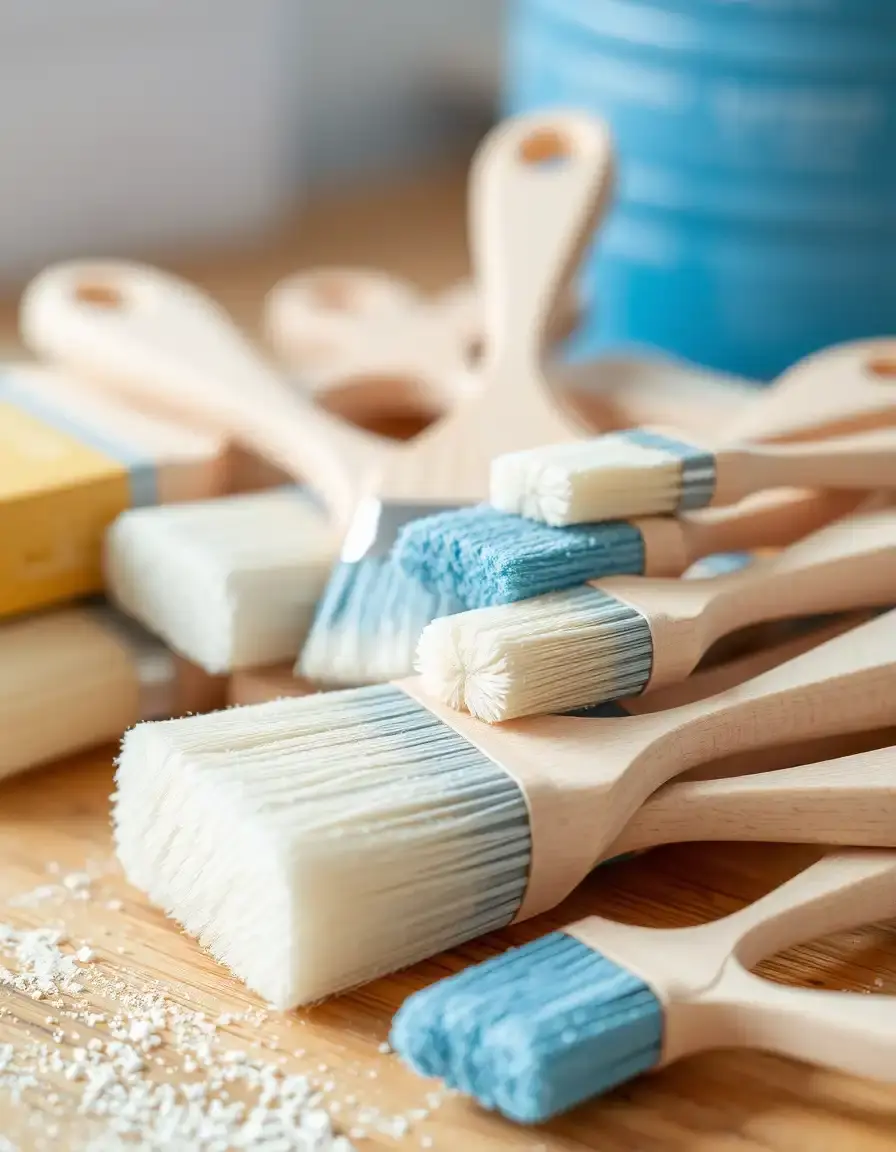
Foam Paint Brushes Pack
For those tight crevices or for applying a final thin topcoat, high-density foam brushes are incredible. They don't leave bristle marks, making them a kitchen gadget buying guide favorite for achieving a smooth-as-silk finish on smaller details.
Get the Pack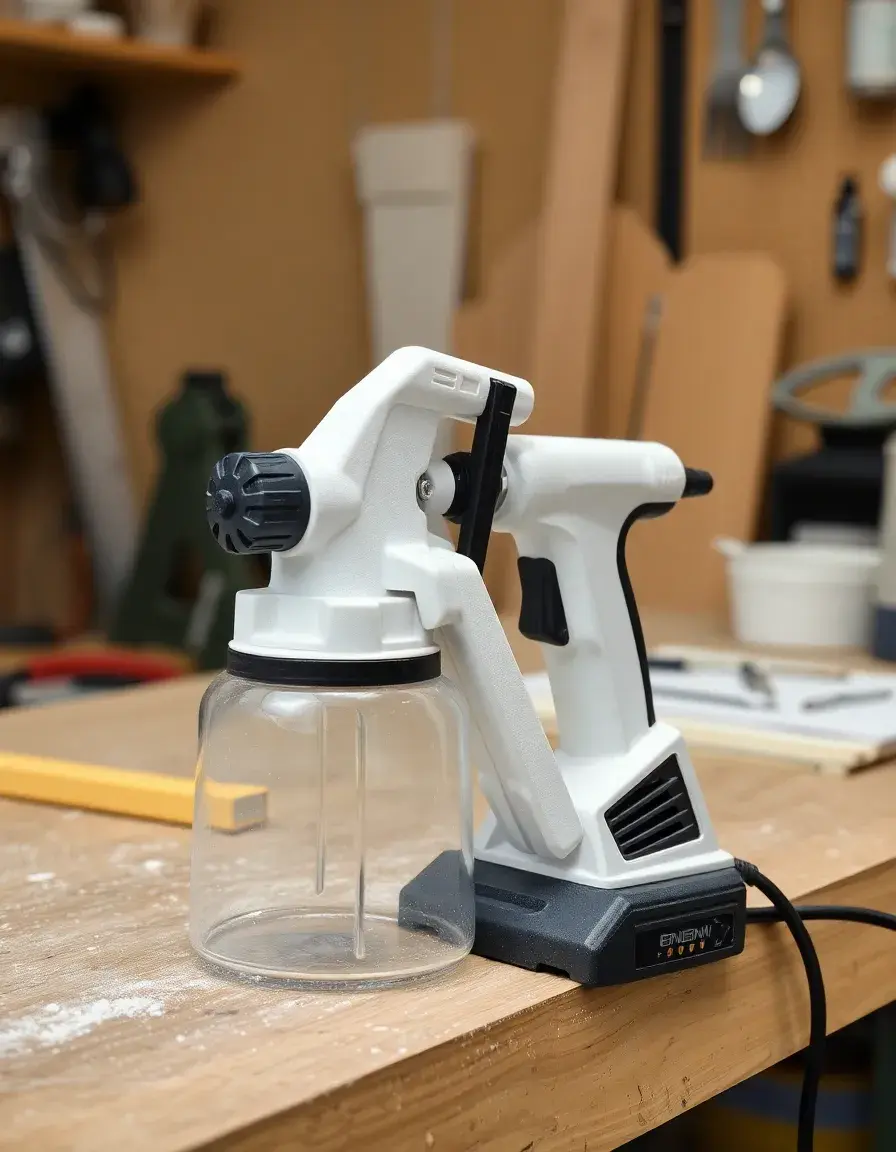
Paint Sprayer for Cabinets
Want that factory-smooth look? A handheld sprayer is the way to go. It applies a fine mist of paint that settles perfectly. While it requires more masking (taping off the kitchen), the speed and quality are unmatched. It’s like upgrading from a hand whisk to one of those reliable stand mixers for baking—the results are just better.
Explore Sprayers"Remember: multiple thin coats are always better than one thick coat. Thick paint drips, and drips are the enemy of a beautiful kitchen."
Phase 4: Cleanup and Reassembly
Once the final coat is on, walk away! Seriously. Let it dry for at least 24–48 hours before you even think about putting the doors back on. Even if it feels dry to the touch, the paint is still "soft" underneath and can smudge or stick to the frames.
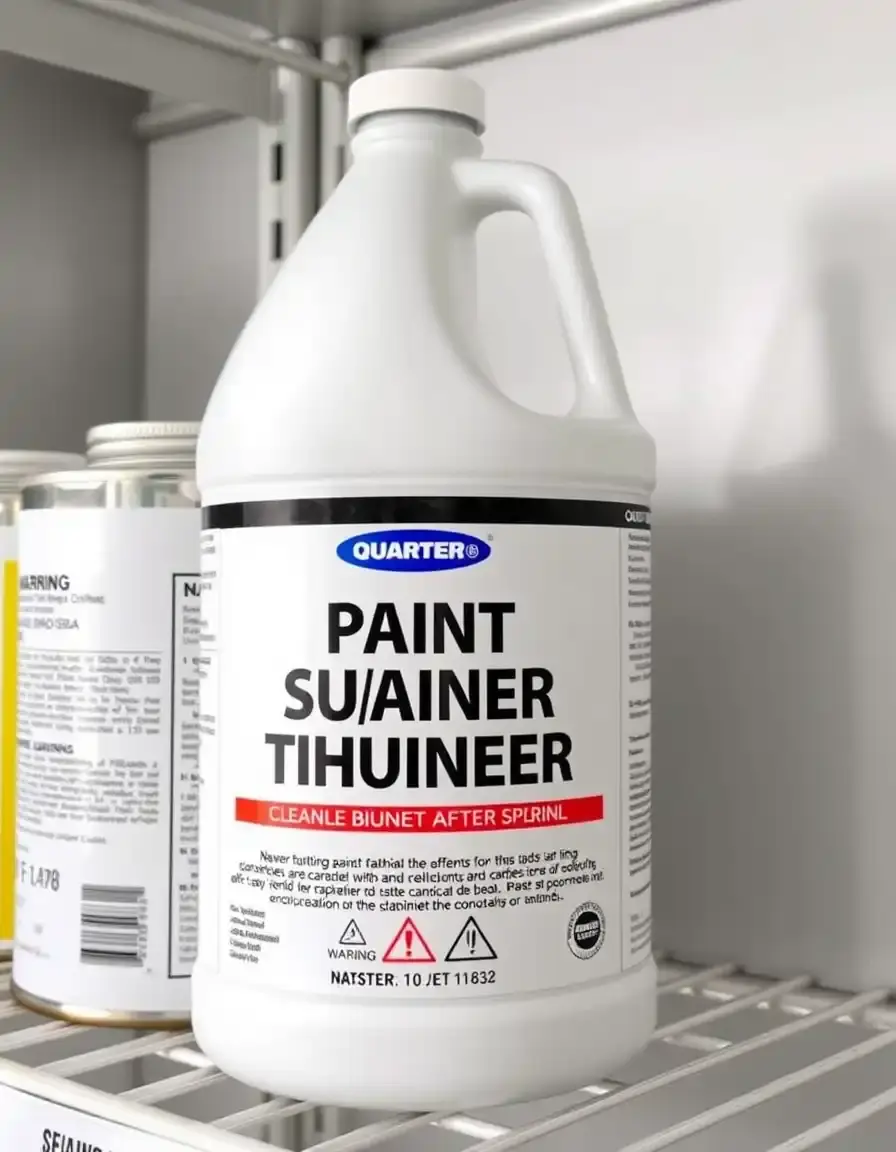
Paint Thinner Solvent
If you chose the oil-based route, you’ll need a proper solvent for cleanup. Don't ruin your expensive brushes by letting them sit! A quick soak and rinse with a dedicated thinner ensures your tools are ready for your next project. It’s basic how to choose kitchen equipment maintenance!
Order Solvent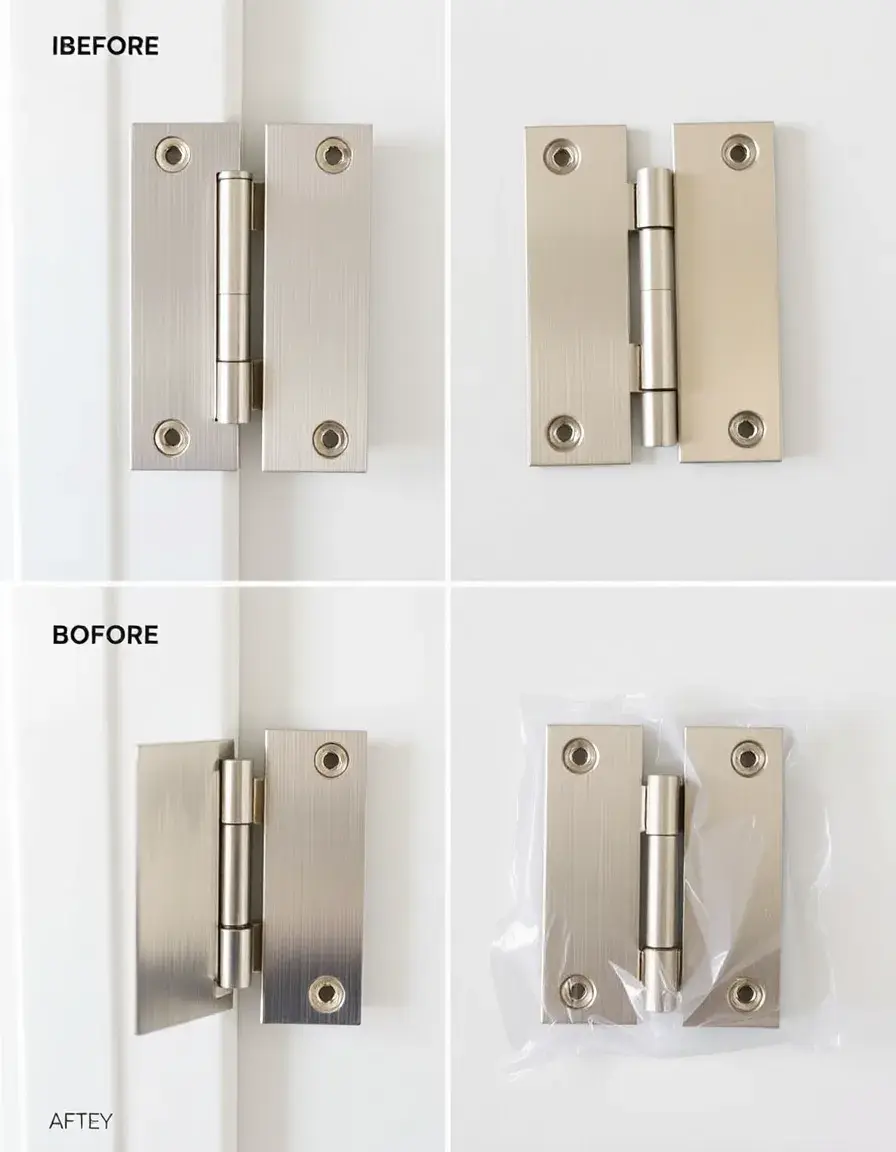
Cabinet Door Hinges Set
You’ve done all that work—don't put those old, greasy, squeaky hinges back on. Upgrading to soft-close hinges is the ultimate luxury move. It changes the entire "feel" of your kitchen. AliExpress offers an incredible variety of finishes like brushed nickel or matte black that you won't find in local shops.
Browse HardwareReady to Transform Your Kitchen?
At KitchGear.com, we believe your kitchen should be your favorite room in the house. Whether you're hunting for top-rated air fryers 2026 or mastering the art of cabinet painting, we're here to help.
Sign up for our "Gear Alerts" and never miss a hands-on review of the latest culinary innovations!