Brought to you by KitchGear.com
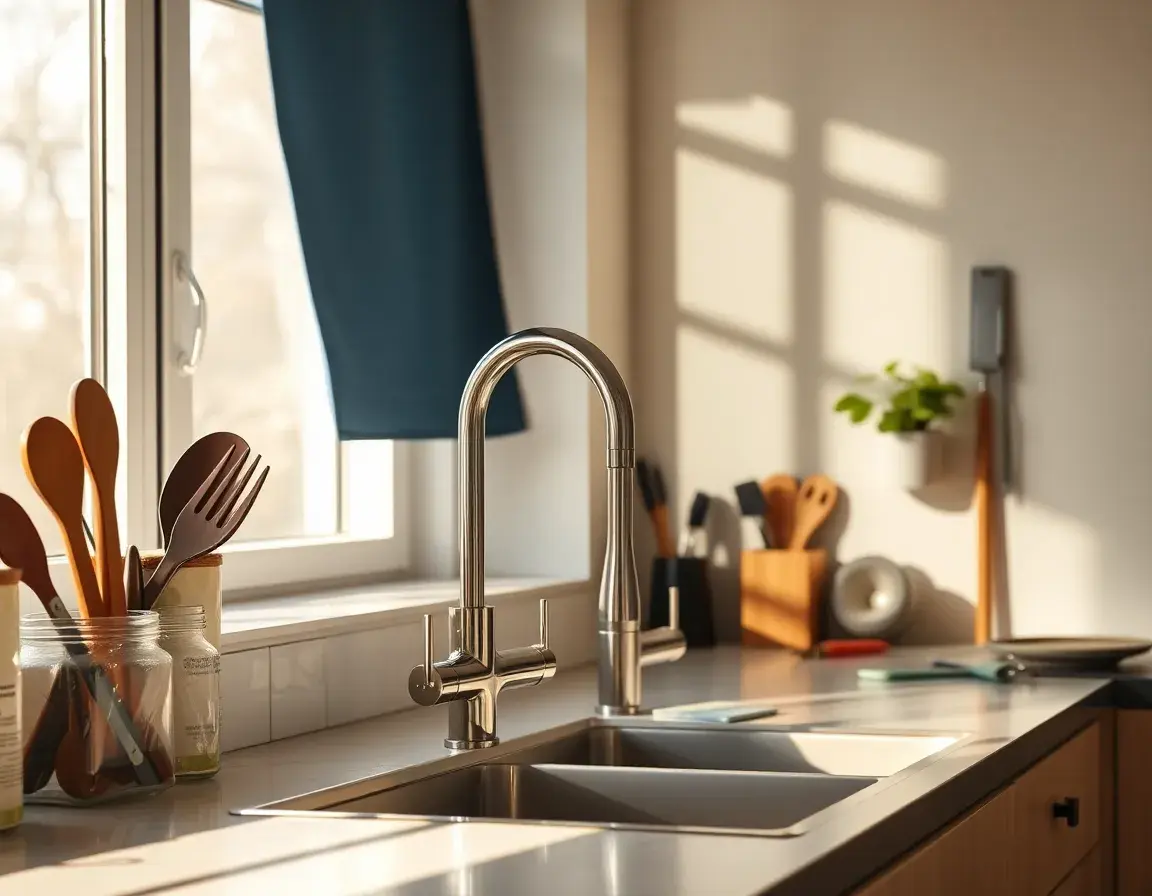
Let’s be honest: that dripping faucet isn’t just wasting water; it’s testing your sanity. Whether you're upgrading to a sleek matte black pull-down or replacing a leaky dinosaur from the 90s, learning how to replace a kitchen faucet is one of those empowering "I’ve got this" moments every home cook should experience. You don't need a degree in plumbing—just the right mindset and a few must-have kitchen essentials.
The "Before You Start" Checklist
Before we go crawling under the sink, let's talk preparation. Replacing a faucet is 30% plumbing and 70% logistics. You want to make sure you have everything laid out so you aren't running to the hardware store with a disassembled sink and soapy hands. Finding the best kitchen tools for home cooks is half the battle.
One of my favorite hacks for saving a few bucks without sacrificing quality is looking at AliExpress for specialized tools. You can find professional-grade gear that usually sits in a plumber's van for a fraction of the price. Just remember to check the latest reviews and shipping times to ensure your weekend project stays on track!
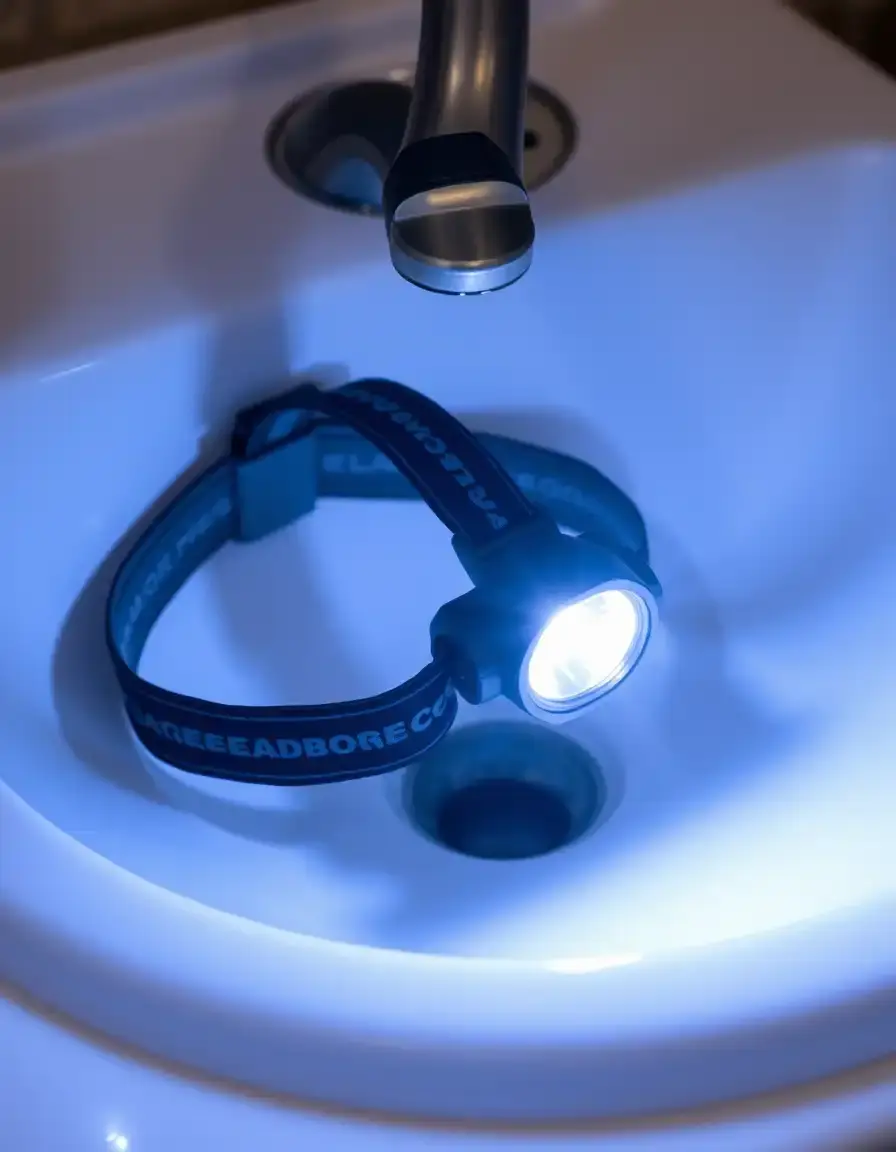
Flashlight Headlamp
Trust me, you don't want to be holding a flashlight between your teeth while wrestling with a pipe. This hands-free LED headlamp is a lifesaver for seeing deep into the dark corners under your sink.
View on AliExpressStep 1: Out with the Old (The Removal)
The first step in our kitchen gadget buying guide to plumbing is actually clearing the deck. Turn off the water valves under the sink (turn them clockwise!). Then, turn on the faucet to bleed out any remaining pressure. If no water comes out, you’re safe to proceed.
Clearing the Space
You’ll likely find a mountain of half-empty cleaning bottles under there. Clear them out. You need room to breathe. Once it's clear, place a bucket under the supply lines before you disconnect them. There is always a little water left in the pipes, and your cabinet floor will thank you for the foresight.
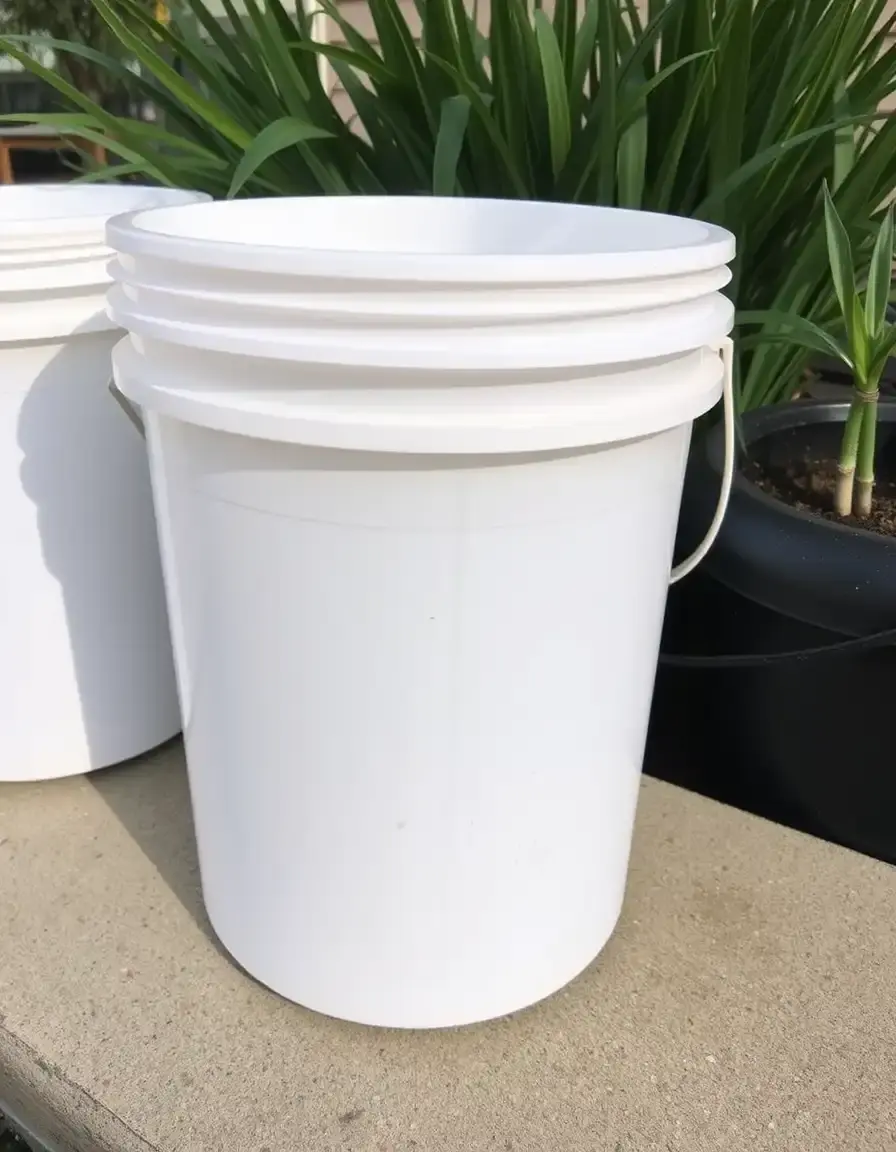
Bucket for Drainage
It's not fancy, but it's vital. A sturdy 5-gallon bucket catches the inevitable "oops" water and provides a place to toss old, wet rags as you work.
View on AliExpressWrestling the Mounting Nut
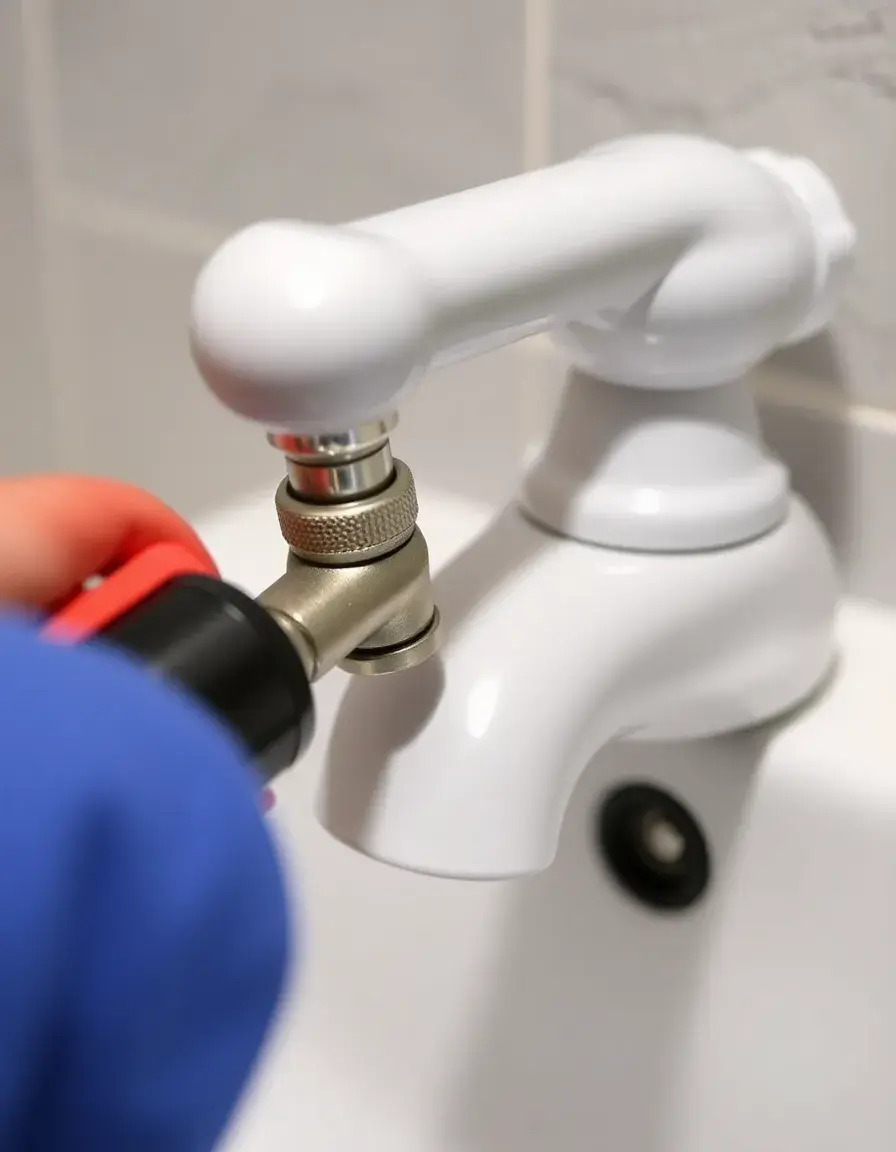
This is where most people give up. The nut holding the old faucet in place is usually tucked way up behind the sink bowl. It’s cramped, it’s probably rusted, and your standard wrench won’t fit. This is why a Basin Wrench is considered one of those must-have kitchen essentials for any DIYer.
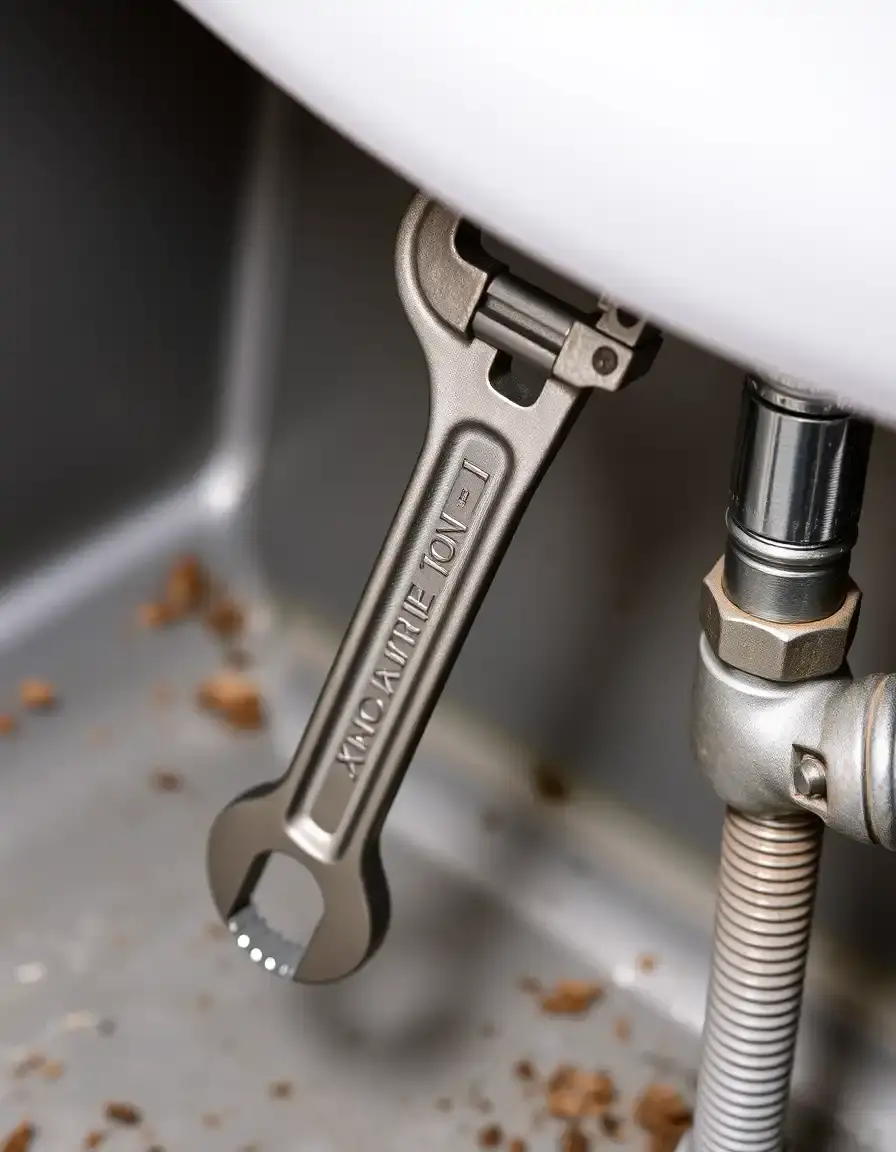
Basin Wrench Tool
Designed specifically for those "impossible" nuts behind the sink. This tool reaches where your hands can't, making faucet removal a 5-minute job instead of a 2-hour struggle.
View on AliExpressIf the old faucet is particularly stubborn or the handle is stuck, you might need a bit more leverage. A Faucet Puller can help pop off those handles that have been fused by mineral deposits over the years.
Faucet Puller Tool
When minerals have essentially welded your old faucet handles in place, this puller provides the gentle, even pressure needed to pop them off without cracking the sink.
View on AliExpressStep 2: Preparing the Surface
Once the old faucet is out, you’ll likely see a ring of "gunk" (a technical term for old lime and soap scum) on the sink surface. Use a Utility Knife to carefully scrape away any old silicone or large debris, then scrub it clean. You want a perfectly smooth surface for the new faucet's gasket to sit on.
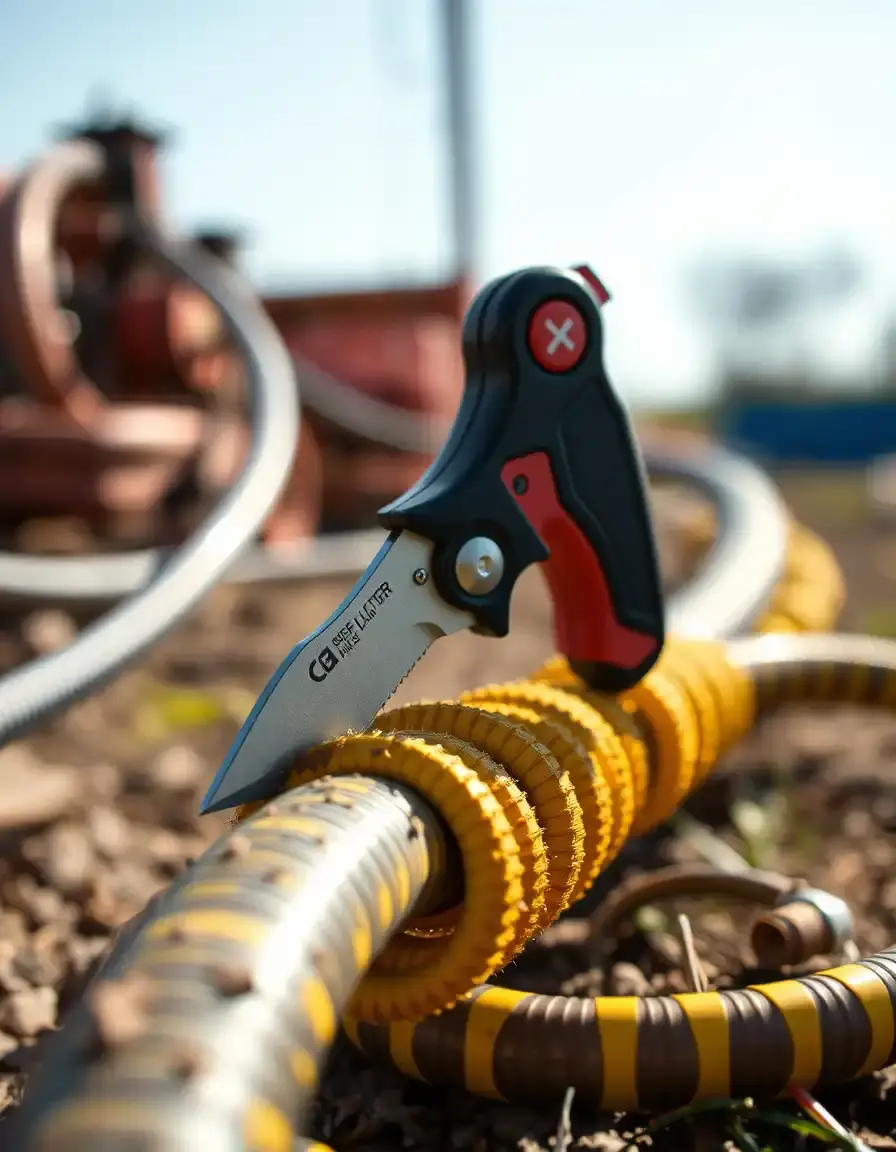
Utility Knife
Essential for trimming excess hoses or carefully scraping away old, dried sealant from the sink deck. A sharp blade makes for a clean installation.
View on AliExpressStep 3: Installing the New Faucet
Now for the fun part! Drop your new faucet through the holes in the sink. Most modern faucets come with a rubber gasket, but for extra security against leaks, many old-school pros still swear by a thin bead of Plumber's Putty around the base.

Plumber's Putty
This soft, pliable clay creates a waterproof seal between the faucet base and the sink. It stays flexible for years, ensuring no water ever seeps into your cabinet.
View on AliExpressUnder the sink, slide the mounting hardware up the faucet shank and tighten it down. This is where you might need a solid Pipe Wrench Set if you're dealing with heavy-duty brass fittings or older plumbing lines that need a bit of "convincing."
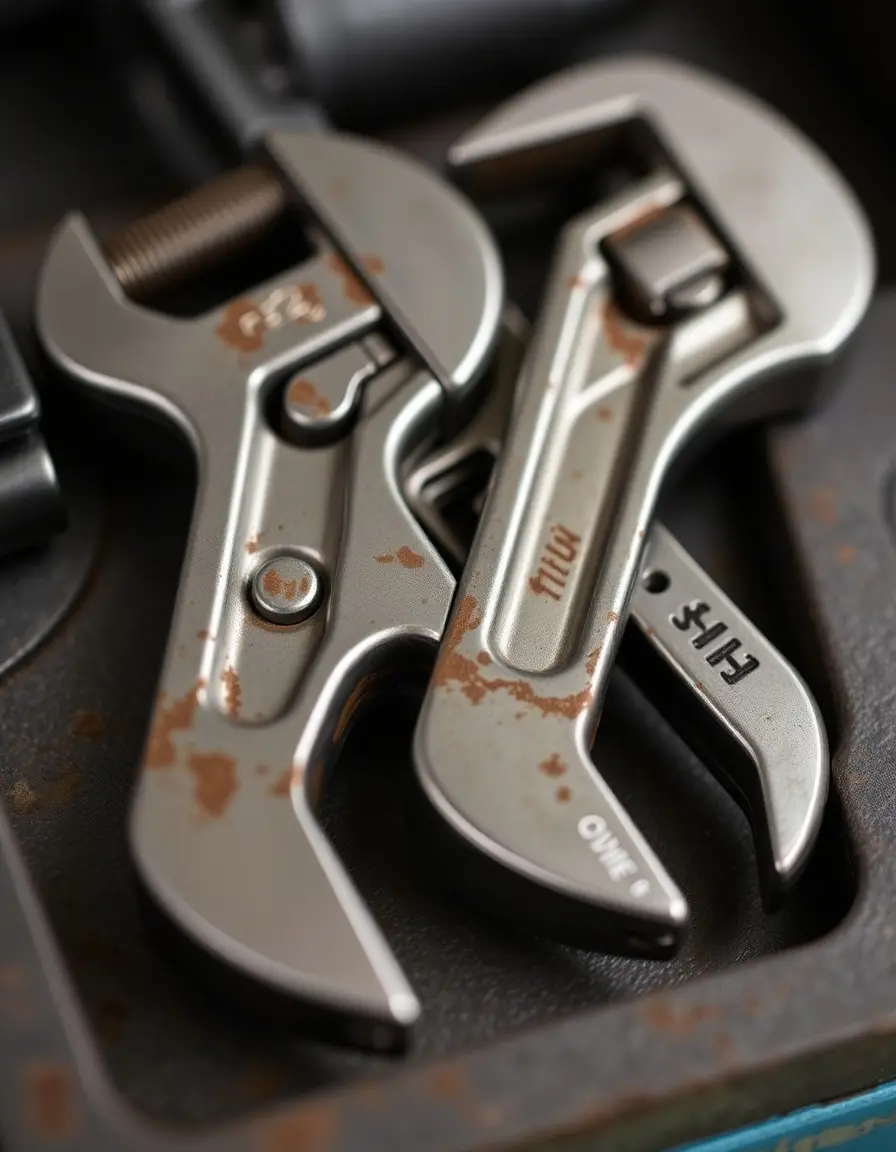
Pipe Wrench Set
For those heavy-duty connections where a standard wrench slips. These provide the grip and torque necessary for solid, leak-free plumbing.
View on AliExpressStep 4: Connecting the Water Supply
This is the final stretch. Connect your hot and cold supply lines to the shut-off valves. To ensure you don't have a "surprise shower" when you turn the water back on, always wrap the threads with a few layers of Teflon Tape. It acts as a lubricant and a seal, making it easier to tighten the nuts while preventing leaks.

Teflon Tape Roll
A few wraps around your threaded connections ensures a watertight seal. It's the cheapest insurance policy you'll ever buy for your kitchen.
View on AliExpressTesting for Leaks
Turn the water back on slowly. Check every connection. Use a dry paper towel to wipe the joints—if it comes away damp, you need to tighten things up just a hair more. Once it's dry, flush the faucet for a minute to clear out any debris from the lines.
Ready to Upgrade Your Whole Kitchen?
From reliable stand mixers for baking to durable nonstick cookware, KitchGear.com is your home for honest, expert-tested advice. Don't stop at the faucet—build the kitchen of your dreams one tool at a time.
Explore More Guides