Your Path to Custom Designer Style on a Realistic Budget
Let’s be honest: we’ve all walked into a designer kitchen showroom and felt that immediate pang of "kitchen envy." The deep-set grains, the butter-smooth finishes, and that perfect, custom-stained glow. Then we see the price tag, and suddenly our old, peeling laminate cabinets don’t look so bad. But what if I told you there’s a middle ground? A secret door to a high-end kitchen that doesn't involve a second mortgage?
Welcome to the world of unfinished kitchen cabinets. Going the unfinished route is one of the smartest moves you can make as a home cook. It’s the ultimate "must-have kitchen essentials" hack—you get the structural integrity of real wood without paying the massive markup for factory finishes. Plus, you get total creative control. Want a specific shade of "Modern Espresso" or a trendy "Sage Green"? You can have it. In this guide, we’re going to walk through the exact steps, tools, and tricks to help you finish your cabinets like a seasoned pro.
Why Start with Unfinished Cabinets?
Before we pick up a sander, let's talk about why this is such a brilliant strategy. Most "off-the-shelf" cabinets are made of particle board with a thin veneer. They look okay for a year, but then they warp. Unfinished kitchen cabinets are usually solid wood or high-quality plywood. They are built to last, making them some of the most durable kitchen tools in your home (yes, cabinets are tools!).

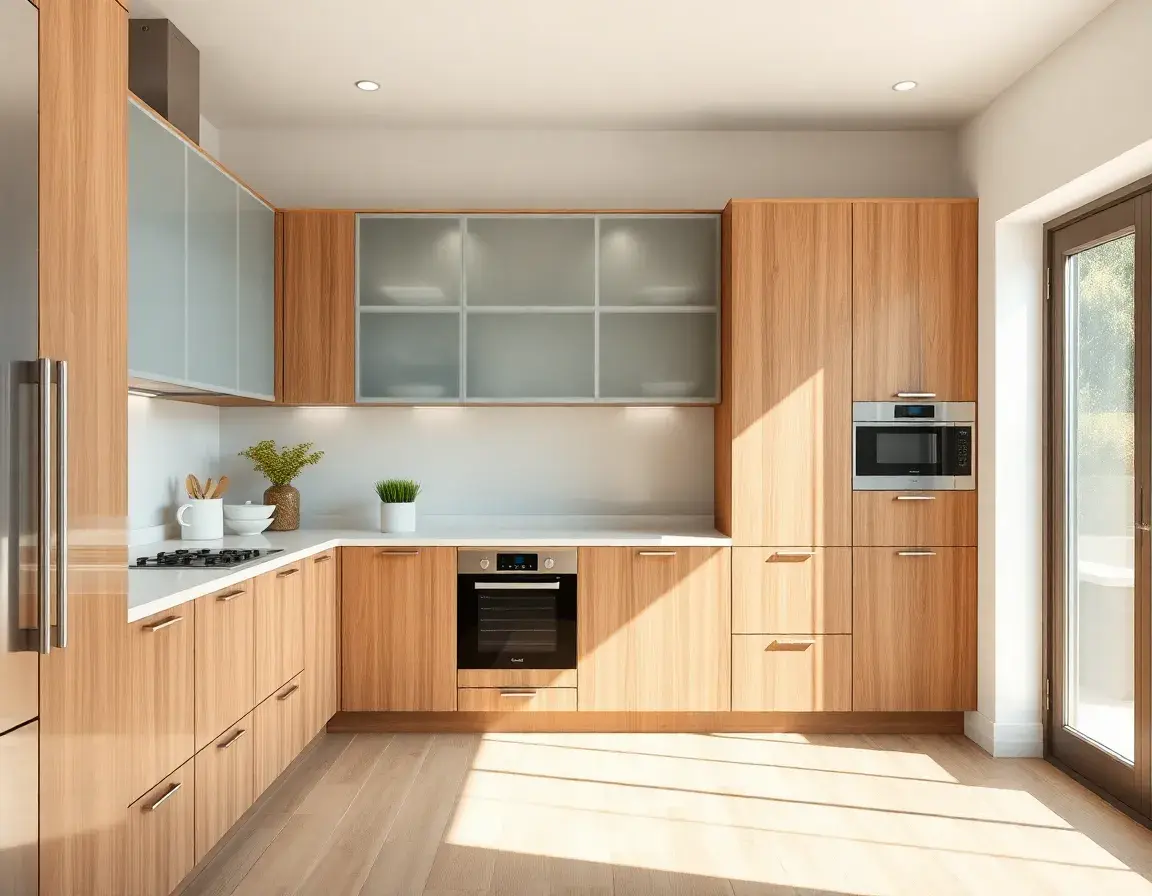
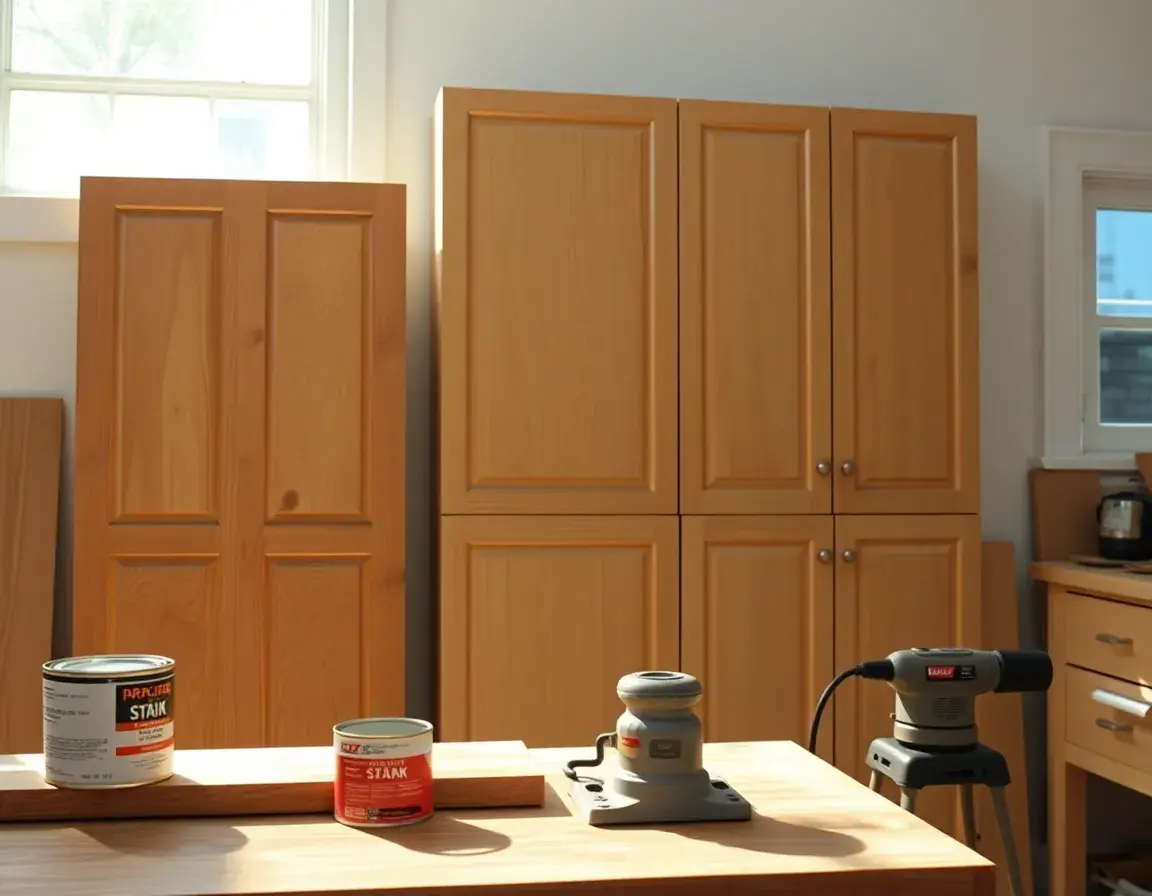
Unfinished Wood Cabinet Door
Starting with a high-quality, raw wood door is essential. These doors come pre-sanded to a basic level, but they are "open" and ready to drink up whatever stain or paint you choose. It's the blank canvas of the kitchen world.
View on AliExpressPhase 1: Prepping Like a Professional
If you take away one thing from this guide, let it be this: Finishing is 90% preparation and 10% application. If your surface isn't smooth, your finish will look amateur. You might be tempted to jump straight to the color, but trust me—we’ve all been there, and we’ve all regretted it when the stain highlights every single scratch.
Step 1: The Essential Sanding
Even if the wood feels smooth to your hand, it likely has "mill glaze" from the factory. You need to open those wood pores. Using an orbital sander is the only way to go here. Doing this by hand will take years and leave your wrists screaming. An orbital sander moves in a random pattern, which prevents those ugly swirl marks.
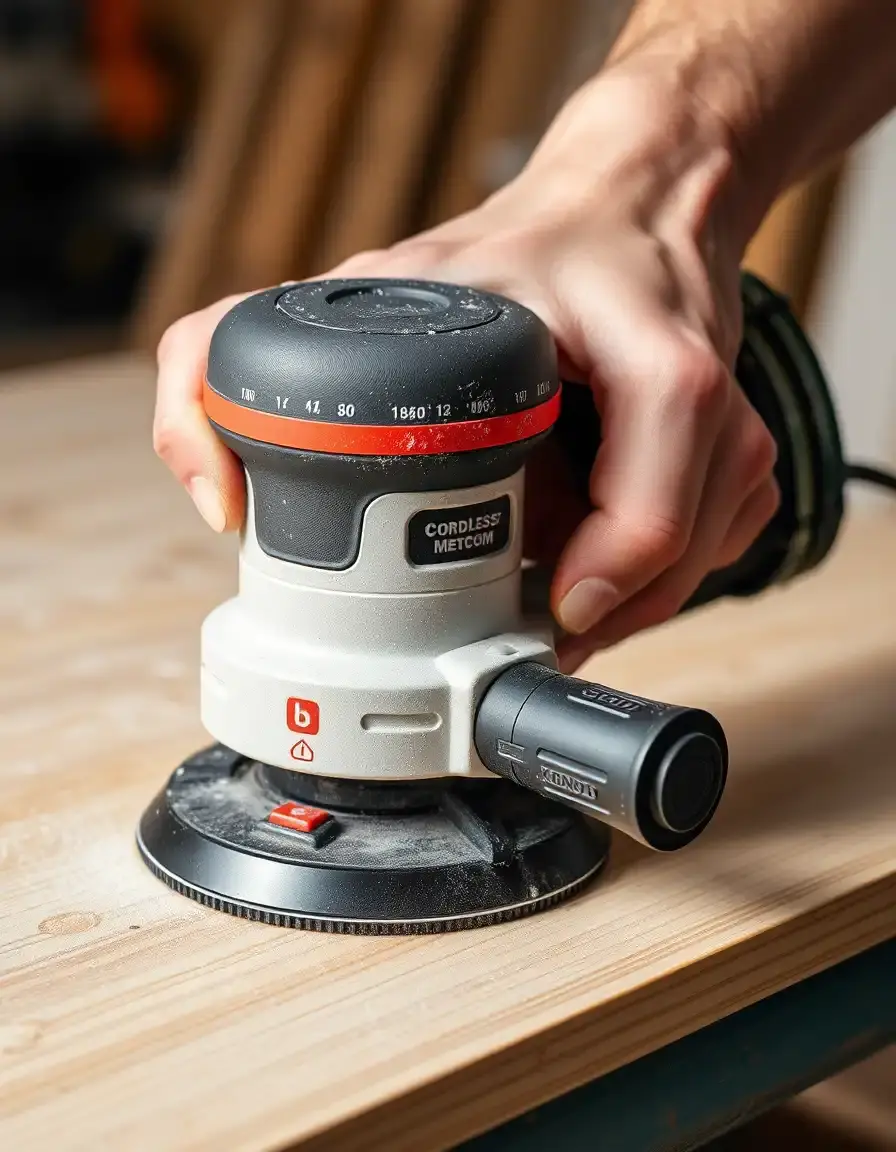
Orbital Sander
This is one of those best kitchen tools for home cooks who DIY. It saves hours of manual labor and ensures your wood is perfectly prepped for staining. I recommend starting with 120-grit and finishing with 220-grit for a glass-smooth surface.
View on AliExpressStep 2: Fixing Imperfections
Wood is a natural product. It has knots, tiny cracks, and the occasional ding from shipping. This is where Wood Filler Putty becomes your best friend. It’s like concealer for your cabinets. Apply it sparingly, let it dry, and sand it flush. (Pro tip: If you’re staining, make sure the putty is "stainable"—otherwise, you’ll have bright spots where the wood didn't take the color!)
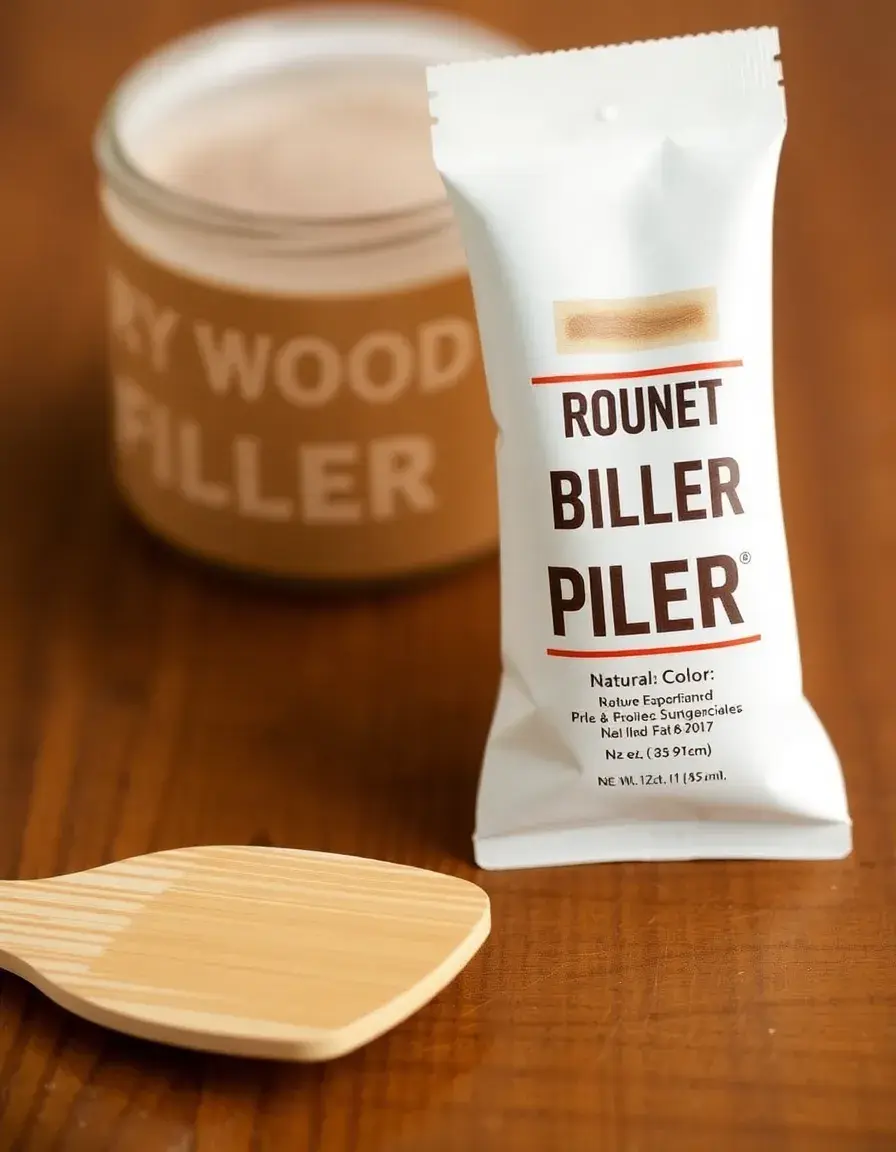
Wood Filler Putty
Don't let a small crack ruin your "custom" look. A good wood filler blends seamlessly into the grain and handles sanding like a champ. It's an inexpensive way to ensure a flawless finish.
View on AliExpressPhase 2: Bringing the Color to Life
Now for the fun part! This is where your kitchen's personality is born. When considering how to choose kitchen equipment, people often forget the chemicals. Your stain choice determines the mood of the room. Warm oaks feel cozy and traditional; dark walnuts feel modern and sophisticated.
Wood Stain Kit
A comprehensive kit takes the guesswork out of the process. Look for high-pigment stains that offer even coverage. AliExpress often has fantastic deals on bulk staining supplies that are perfect for a full-kitchen overhaul.
View on AliExpressThe Secret to No-Streak Staining
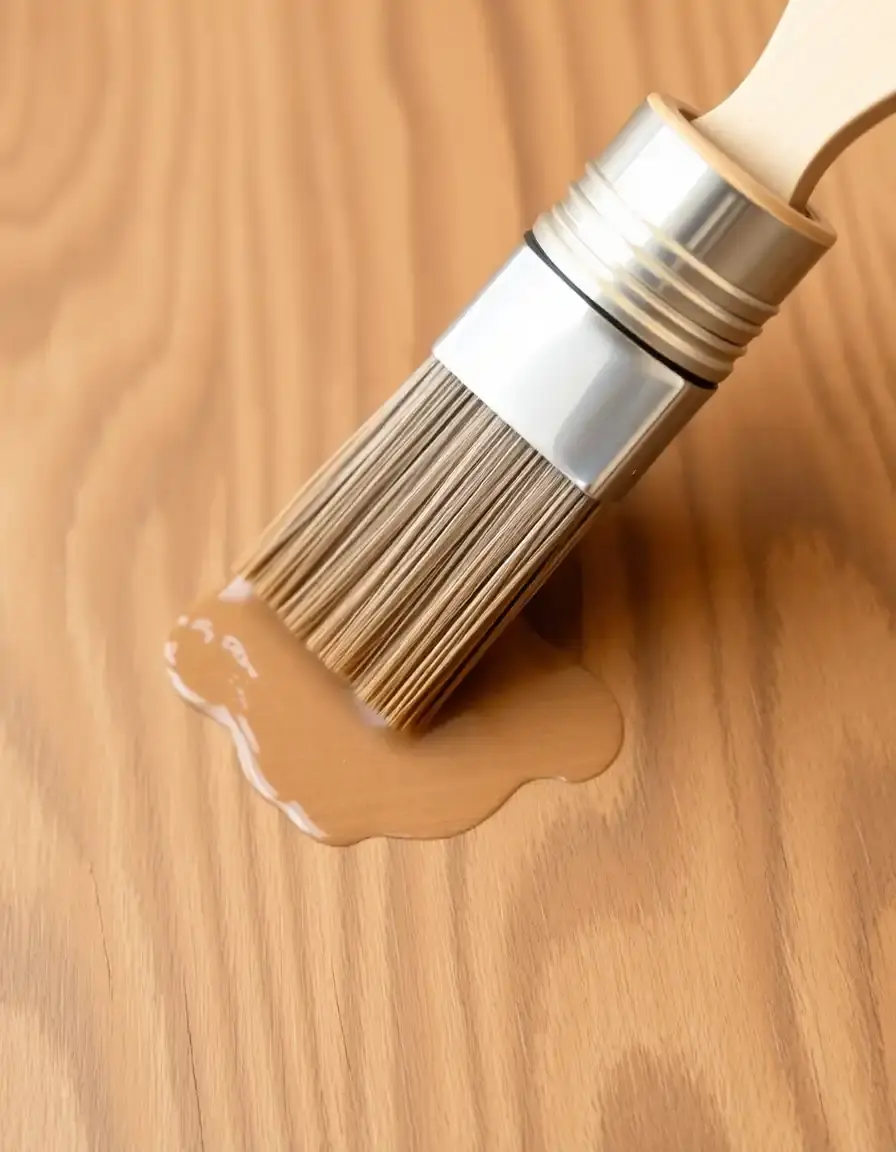
Don't use a cheap brush. Just don't. You’ll end up with bristles stuck in your finish and weird streaks. Use Staining Rags. They allow you to rub the stain into the grain rather than just painting it on top. It gives a much more organic, deep-toned look.
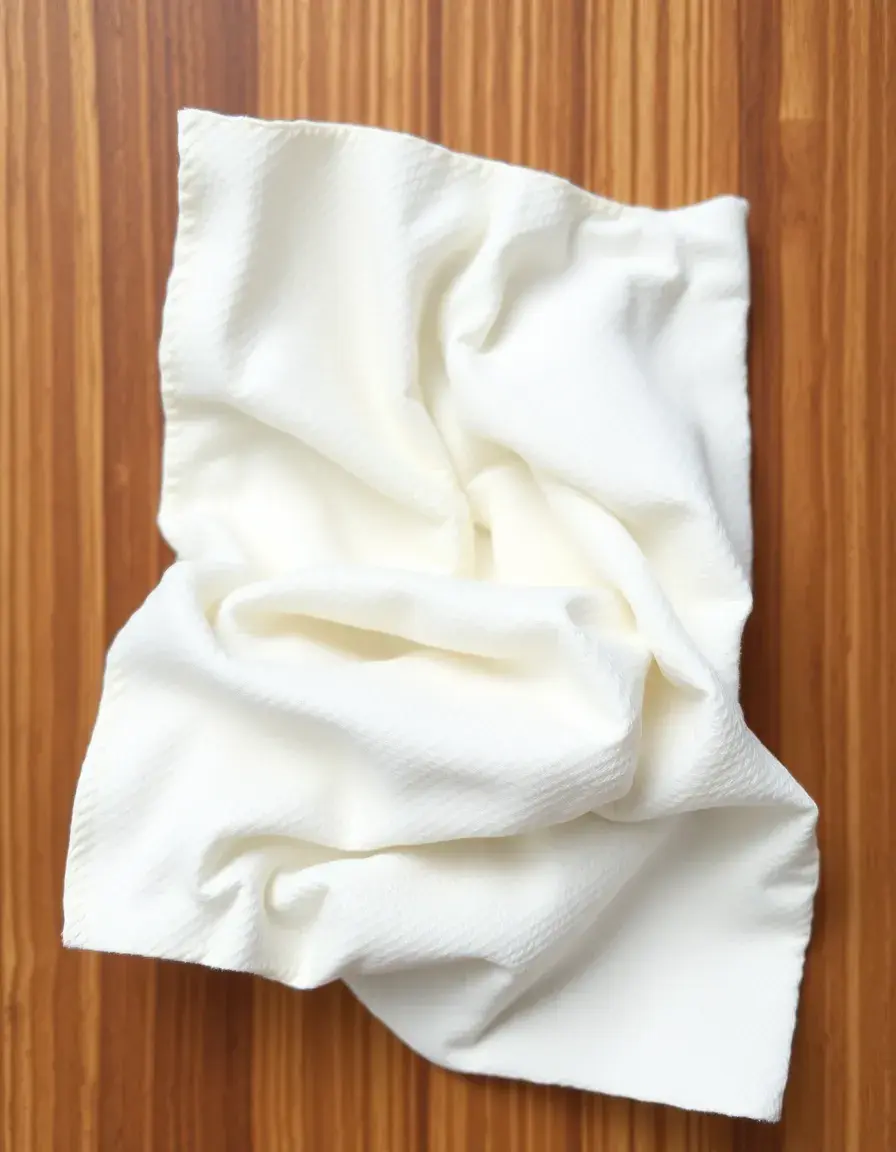
Staining Rags Pack
Lint-free cotton rags are a must. They ensure that you aren't leaving behind tiny fibers that will be trapped under your topcoat. This pack of 50 is perfect for big projects where you're constantly needing a fresh cloth.
View on AliExpressPhase 3: The Protective Shield
Kitchens are high-traffic, high-moisture zones. You’ve got boiling pasta water, splattering oil, and the occasional flying spatula. Without a topcoat, your beautiful stain will last about a week. You need a durable Varnish Protective Coat.
If you want that "factory-smooth" feel, a spray application is superior to a brush. Brushes leave "self-leveling" marks that never quite level out. An HVLP (High Volume Low Pressure) Paint Sprayer Gun is a game-changer here. It atomizes the varnish into a fine mist, giving you that buttery finish you see on reliable stand mixers for baking or high-end appliances.
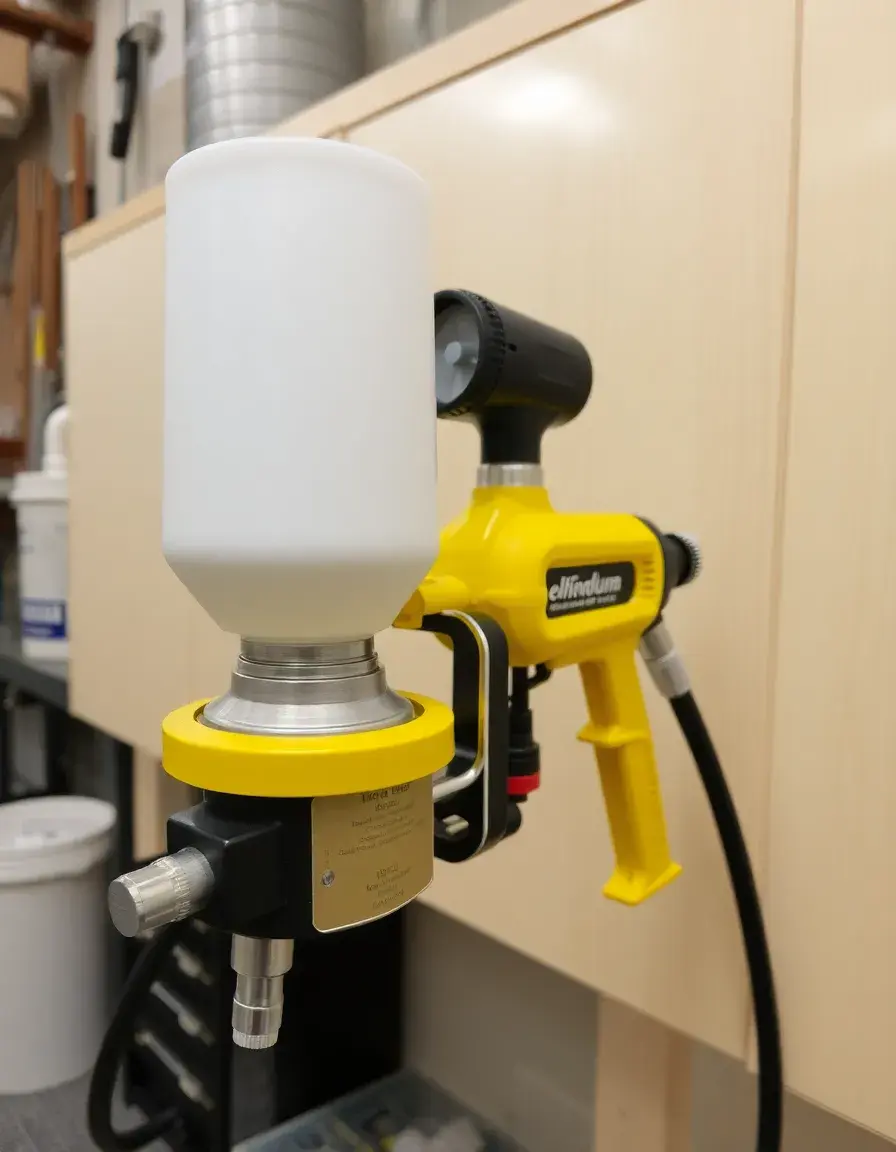
Paint Sprayer Gun
This tool is the difference between "DIY-looking" and "Professional-grade." It’s perfect for both paint and clear coats, ensuring zero brush marks and a perfectly even sheen across every inch of your unfinished kitchen cabinets.
View on AliExpress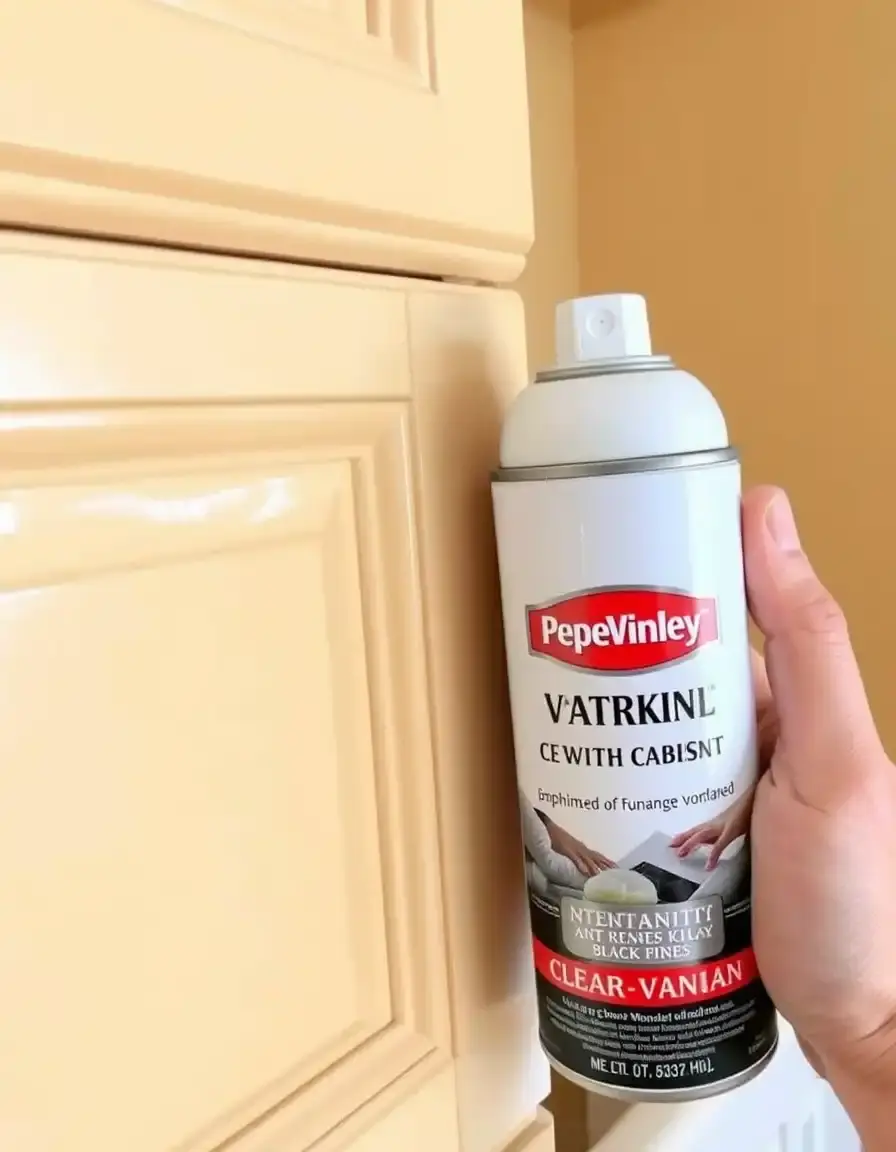
Varnish Protective Coat
Choose a finish—matte, satin, or gloss—and stick to it. This varnish acts as a waterproof barrier, protecting your wood from the daily rigors of a busy kitchen. It’s the final step to ensuring your hard work stays beautiful for years.
View on AliExpressPhase 4: The Finishing Touches
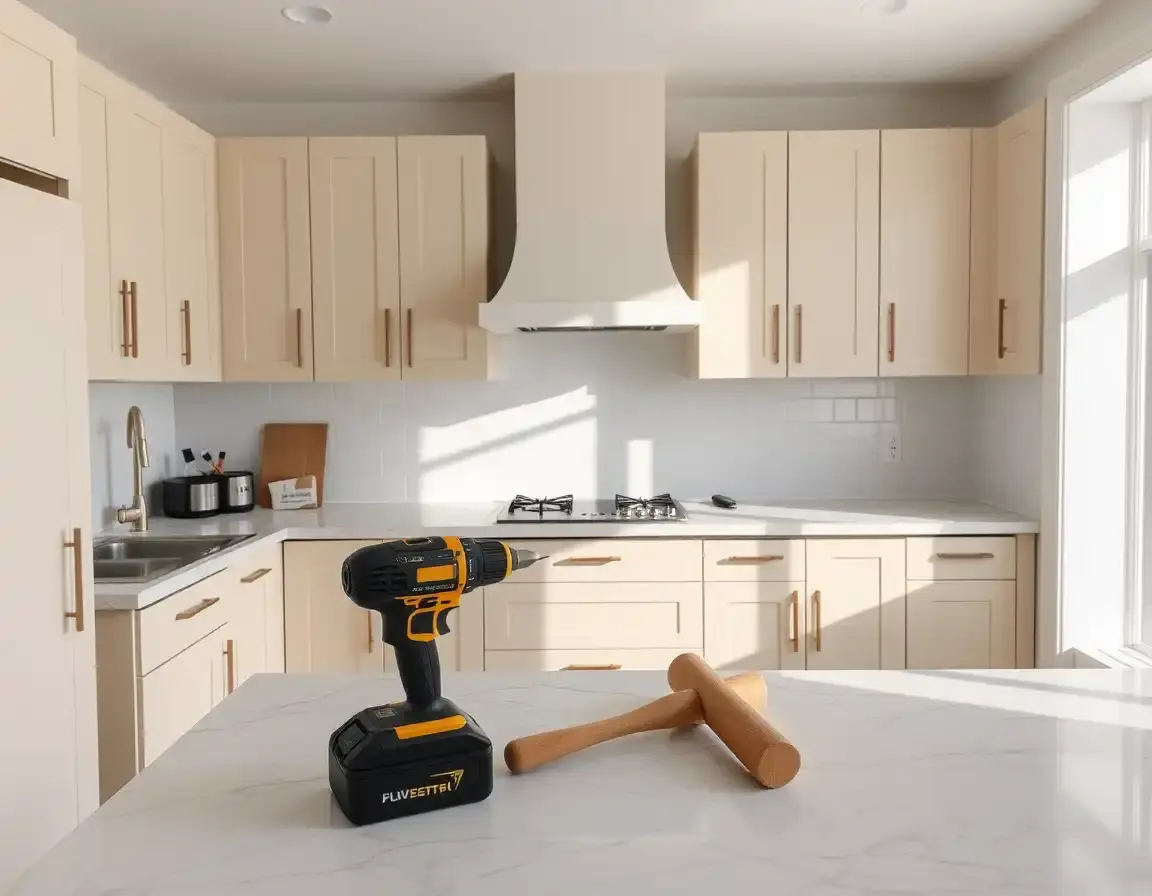
You’ve stained, you’ve sealed, and the wood looks gorgeous. But there’s one more hurdle: Hardware. There is nothing more terrifying than taking a drill to a cabinet door you just spent three days finishing. One wrong measurement and you have a permanent hole in the wrong place.
This is why a Cabinet Hardware Jig is an absolute kitchen gadget buying guide essential. It takes the "guess and check" out of the equation and ensures every handle and knob is perfectly aligned. It’s about precision—the same kind of precision you want when choosing the best kitchen tools for home cooks.
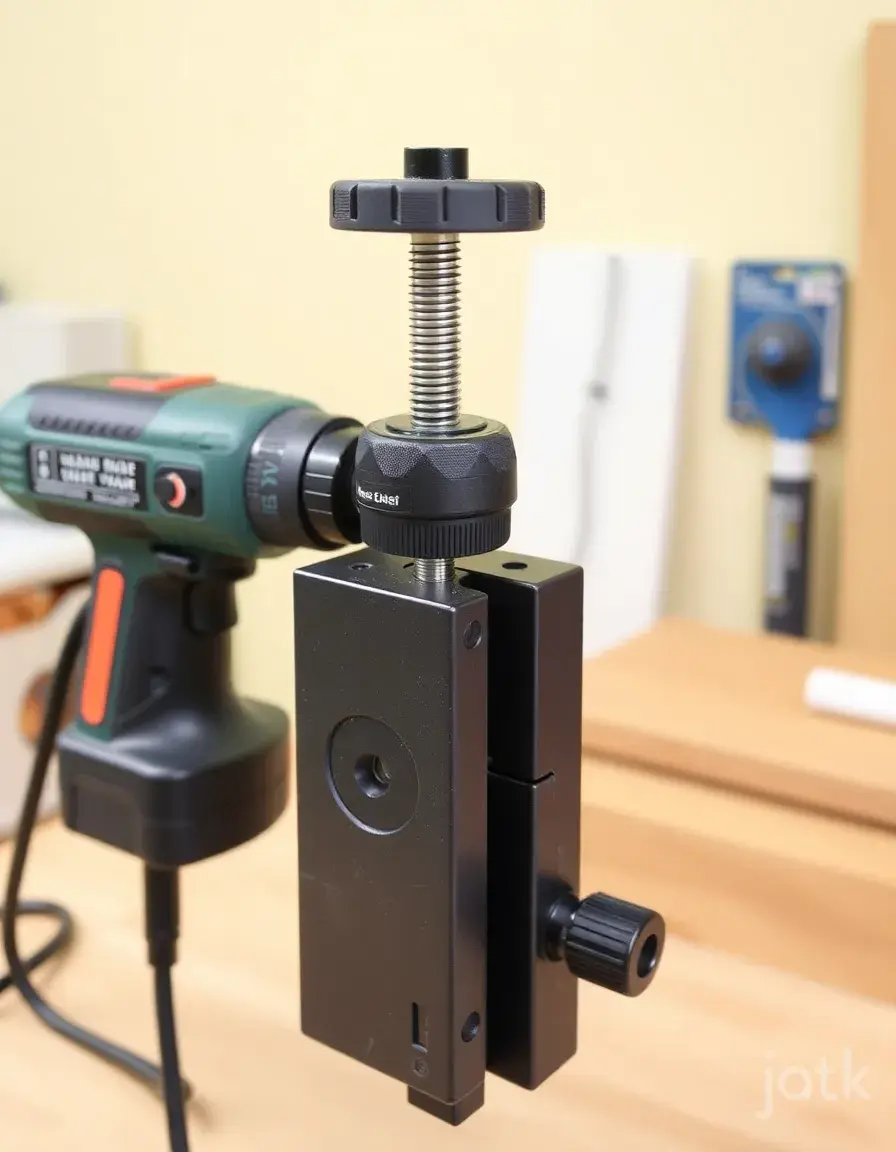
Cabinet Hardware Jig
Measure once, drill fifty times perfectly. This jig allows you to set your vertical and horizontal offsets and lock them in. It's the ultimate stress-reducer for the final stage of your renovation.
View on AliExpressWhy We Love Finding These Tools on AliExpress
You might be wondering why we frequently link to AliExpress for these specific tools. As a kitchen gear expert, I'm always looking for the best value. AliExpress offers an incredible variety of durable nonstick cookware and specialized DIY tools that often come from the same manufacturers as big-box brands but without the middleman markup.
Whether you’re looking for a niche hardware jig or a bulk pack of staining supplies, the variety and frequent deals are hard to beat. Just a friendly reminder from your friends at KitchGear: always take a quick peek at the latest user reviews and current prices on the site before you finalize your cart. It’s the smartest way to shop for top-rated air fryers 2026 or any other gear for your home!
Ready to Transform Your Kitchen?
Finishing your own unfinished kitchen cabinets is more than just a money-saving hack—it's a way to put your soul into your home. Every time you grab a plate or prep a meal, you’ll see the grain you polished and the color you chose.
Want more hands-on advice?
Sign up for the KitchGear newsletter for weekly gear alerts and DIY hacks!